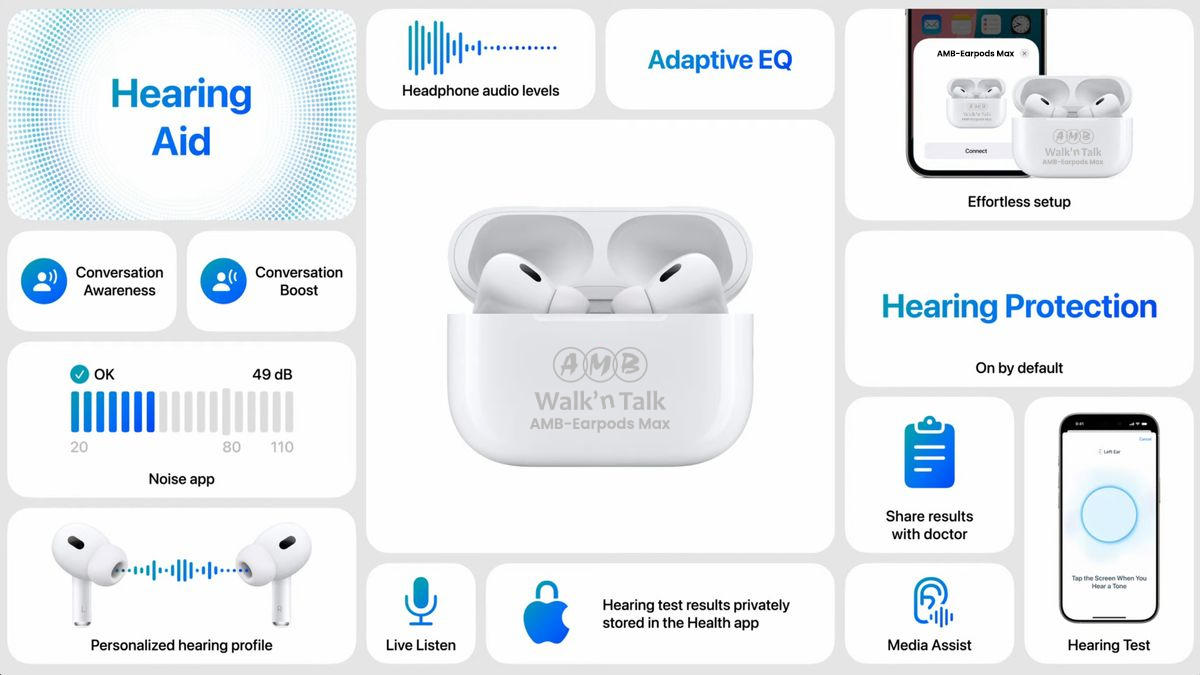
AirPods are very famous because many people like using them. They’re wireless, meaning there are no annoying cords to deal with. People love AirPods because the sound they produce is really good. They’re also comfortable to wear, and they work perfectly with Apple devices like iPhones, iPads, and Macs, which means you don’t have to deal with any complicated setup.
Even if you’ve had AirPods for a while, you might still have some questions. For example, you might not know exactly how to set them up for the first time or how to use certain features. You might also run into small problems that need fixing, like sound issues or Bluetooth problems.
In this guide, we’ll cover everything you need to know about connecting, using, and taking care of your AirPods.
1. Connecting Your AirPods to Devices
a) How to Connect AirPods with iPhone
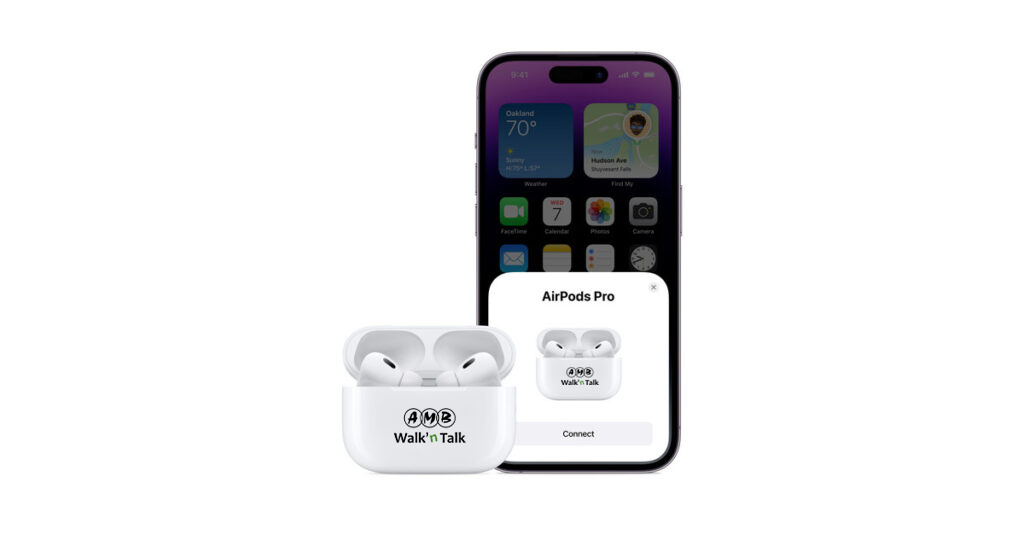
Connecting AirPods to an iPhone is designed to be quick and straightforward because they’re both Apple products. Here’s a step-by-step guide:
- Turn on Bluetooth: Make sure Bluetooth is enabled on your iPhone. You can check this by going to Settings > Bluetooth and turning the toggle switch on.
- Open the AirPods case: With your AirPods inside the case, open the lid. Don’t take the AirPods out yet.
- Pop-up on your iPhone: When your iPhone is nearby, it will automatically detect the AirPods and show a pop-up on the screen. This is a special feature of Apple devices.
- Tap “Connect”: Simply tap the “Connect” button on the pop-up, and your AirPods will pair with your iPhone.
- Ready to use: Once connected, you’ll hear a small chime or sound in the AirPods, letting you know they’re ready to use.
b) How to Connect AirPods to Android
Even though AirPods are Apple products, they can still work with Android phones using Bluetooth. However, you won’t get some special Apple features like automatic pop-ups. Here’s how to connect them:
- Open Bluetooth settings: Go to Settings > Bluetooth on your Android phone and make sure Bluetooth is turned on.
- Open the AirPods case: Keep the AirPods inside the case and open the lid.
- Activate pairing mode: Press and hold the button on the back of the AirPods case until the small light starts blinking white. This means the AirPods are in pairing mode and ready to connect.
- Find AirPods on your Android phone: On your phone’s Bluetooth menu, look for “AirPods” in the list of available devices. Tap on it to pair.
- Connected: Once paired, you can use your AirPods for music, calls, or videos just like any other Bluetooth earbuds.
c) How to Connect AirPods to PC
You can also connect AirPods to a computer or laptop that supports Bluetooth. Here’s how:
- Enable Bluetooth on your PC: On your computer, go to Settings > Devices > Bluetooth & other devices and turn Bluetooth on.
- Put AirPods in pairing mode: Open the lid of the AirPods case. Press and hold the button on the back of the case until the small white light starts blinking.
- Add AirPods to your PC: On your PC, click Add Bluetooth or other device and choose Bluetooth from the options.
- Select AirPods from the list: Your AirPods should appear in the list of available devices. Click on them to connect.
- Use AirPods on PC: Once connected, you can use your AirPods for video calls, watching movies, or listening to music on your computer.
d) Why Are My AirPods Not Connecting?
Sometimes, AirPods might not connect properly. Here are some common reasons and solutions:
- AirPods aren’t charged: Make sure your AirPods and the case have enough battery. Put the AirPods in the case and connect the case to a charger if needed.
- Bluetooth is off: Check that Bluetooth is enabled on your phone, tablet, or PC. If it’s off, turn it on.
- AirPods are paired to another device: If your AirPods are already connected to a different device, disconnect them from that device first. This is common if you’ve used them with multiple devices.
- Restart the device: Sometimes, a simple restart can fix connection issues. Turn off your phone, tablet, or PC and turn it back on before trying again.
- Reset the AirPods: If nothing works, you can reset your AirPods. To do this, press and hold the button on the back of the case until the light flashes amber and then white. This will reset them to factory settings.
2. AirPods Features and Functionality
a) How to Use AirPods
Using AirPods is really simple because they’re designed to be intuitive. Here’s how you can control them for different functions:
- Play/Pause Music:
- To start or stop music, you can double-tap on either AirPod (for older models) or use touch sensors (for newer models like AirPods Pro or AirPods 3).
- This feature is great if you need to pause music quickly, like when someone is talking to you.
- Skip Tracks:
- If you don’t like the current song or want to move to the next one, double-tap on one of the AirPods (older models) or press and hold the stem (AirPods Pro).
- This helps you control your playlist without reaching for your phone.
- Control Volume:
- For AirPods Pro (2nd generation) and newer models, you can adjust the volume directly. Simply slide your finger up or down on the stem of the AirPod.
- If you have older AirPods, you’ll need to adjust the volume using Siri or your phone.
- Answer Calls:
- When someone calls you, you’ll hear a ringtone in your AirPods. To answer, tap on either AirPod.
- To hang up the call, just tap once again. This makes answering calls easy and hands-free, especially when you’re on the go.
b) How to Pair AirPods
Pairing AirPods with any device is quick and hassle-free. Here’s how:
- iPhone or iPad:
- Open the AirPods case near your Apple device.
- A setup pop-up will appear on the screen. Tap “Connect.”
- Once paired, your AirPods will automatically connect whenever you open the case near that device.
- Non-Apple Devices (like Android or PCs):
- Open the AirPods case and press the button on the back until the white light starts blinking.
- Go to Bluetooth settings on your device and select “AirPods” from the list of available devices.
- Follow any on-screen instructions to complete the pairing process.
Once paired, the AirPods will remember the device and connect automatically in the future.
c) How to Answer Calls with AirPods on Android
AirPods work well with Android phones too, even though they’re made by Apple. To answer calls using AirPods on Android:
- When someone calls you, you’ll hear the ringtone through your AirPods.
- Tap once on either AirPod to answer the call.
- To end the call, tap once again on the AirPod.
Note: On Android, you won’t have access to Siri or some Apple-exclusive features, but basic functions like answering calls still work perfectly.
d) How to Receive Calls Using AirPods (iPhone and Android)
Receiving calls while using AirPods is super convenient. Here’s how it works:
- When you’re listening to music or watching a video, your AirPods will pause the audio automatically when a call comes in.
- You’ll hear the ringtone in your AirPods.
- To answer the call, tap on either AirPod.
- Once the call ends, your music or video will resume playing from where it stopped.
This automatic pause-and-resume feature ensures you don’t miss anything when switching between calls and other activities.
3. AirPods Battery and Charging Tips
a) How to Charge AirPods and AirPods Pro
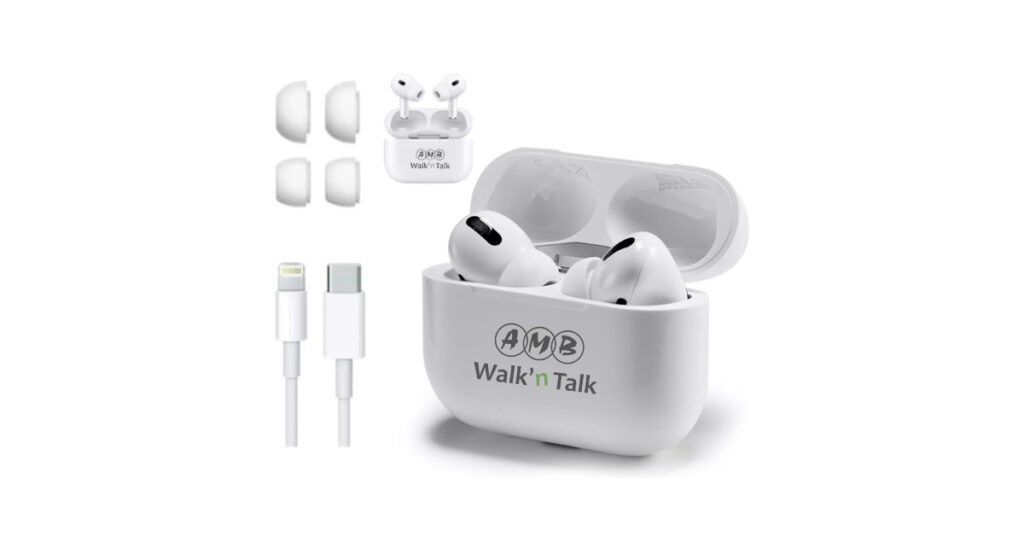
Charging your AirPods and AirPods Pro is very simple. Here’s how it works:
- For AirPods:
- Place the AirPods back in their case.
- Close the lid of the case to ensure proper contact with the charging points inside.
- To charge the case itself, you can use a Lightning cable (connect it to a USB port or wall adapter) or a wireless charger (if you have a newer case that supports wireless charging).
- The case charges the AirPods automatically when they’re inside, so you don’t have to charge them separately.
- For AirPods Pro:
The process is the same as for regular AirPods:- Put the AirPods Pro in their case and close the lid.
- Charge the case using a Lightning cable or place it on a wireless charging pad if your case supports wireless charging.
Both devices are designed to be super easy to charge, so you never have to worry about low battery life.
b) How AirPods Pro Charge
AirPods Pro charges just like regular AirPods. Here’s how the process works:
- AirPods Pro in the Case: Place the AirPods Pro in the case. The charging points inside the case will connect to the AirPods and start charging them.
- Charging the Case:
- Use a Lightning cable to charge the case directly. Plug one end into the case and the other into a USB port or wall adapter.
- If you have a wireless charging case, simply place it on a Qi-certified wireless charger. The light on the case will show the charging status.
The case holds multiple full charges for your AirPods Pro, so it’s like a portable power bank for them.
c) Charging Time of AirPods Case
The AirPods case doesn’t take long to charge. Here’s what you need to know:
- It takes about 1 hour to fully charge the AirPods case.
- The status light on the front of the case indicates the charge level:
- Green light: The case is fully charged.
- Amber light: The case is still charging.
If the case supports wireless charging, you can also place it on a wireless charger and wait for the green light to appear.
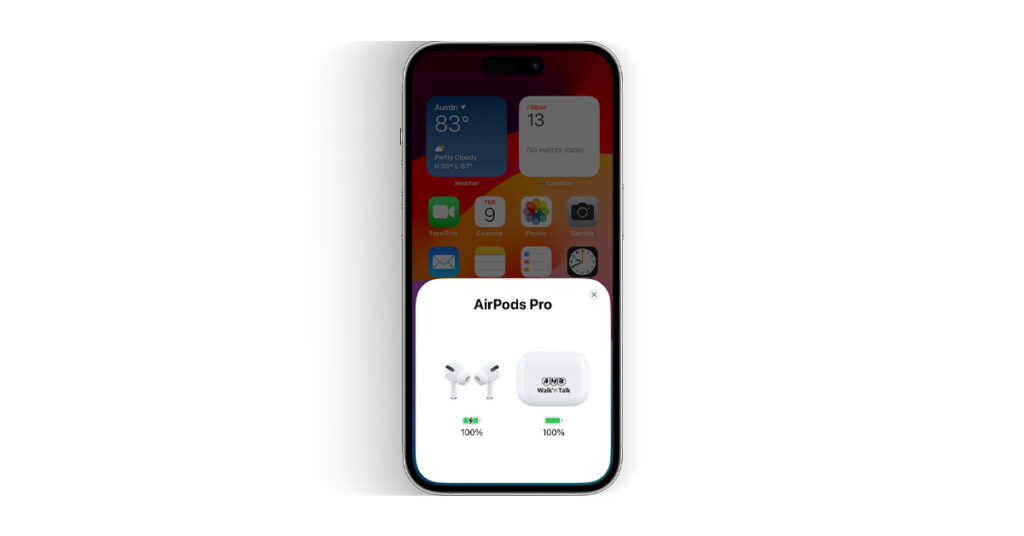
d) How to Check AirPod Battery Percentage on Android and iPhone
- On iPhone:
Apple makes it very easy to check your AirPods’ battery on an iPhone.- Open the AirPods case near your iPhone.
- A pop-up will appear on the screen showing the battery levels of both the AirPods and the case.
- You can also check the battery level in the Batteries widget on your iPhone’s home screen if you’ve added it.
- On Android:
Since AirPods don’t have native support for battery levels on Android, you’ll need a third-party app.- Download an app like AirBattery or MaterialPods from the Google Play Store.
- Connect your AirPods to your Android phone, and the app will display the battery levels of the AirPods and the case.
- These apps are simple to use and free, though some may offer extra features in their premium versions.
e) How to Know When AirPods Pro Are Fully Charged
There are a few ways to check if your AirPods Pro are fully charged:
- Check the Case Light:
- When the AirPods Pro are in the case, the small light on the front of the case indicates their charge level.
- If the light is green, your AirPods Pro are fully charged.
- If the light is amber, they’re still charging.
- Use Your iPhone:
- Open the AirPods case near your iPhone, and a battery indicator will pop up on the screen, showing the charge level of both the AirPods Pro and the case.
- Use an App on Android:
- If you’re using AirPods Pro with an Android phone, apps like AirBattery can show you the battery levels when the AirPods are connected.
By keeping an eye on these indicators, you’ll always know when your AirPods Pro are ready to go.
4. Advanced Features and Customization
a) How to Reset AirPods Pro
Resetting your AirPods Pro can help fix problems like connection issues, sound glitches, or syncing errors. Here’s a step-by-step guide:
- Put AirPods Pro in the Case:
Place both AirPods Pro back in their case. Make sure the lid is closed. - Prepare to Reset:
- Open the lid of the case but keep the AirPods inside.
- Find the small button on the back of the case.
- Hold the Reset Button:
- Press and hold the button for about 15 seconds.
- Watch the small light on the front of the case. It will flash amber, then turn white. The white light means the reset is complete.
- Pair Again:
After resetting, your AirPods Pro will no longer be connected to any device. You’ll need to pair them again with your phone, tablet, or computer by following the initial setup process.
b) How to Reset AirPods (Regular)
The process for resetting regular AirPods is the same as resetting AirPods Pro. Follow these steps:
- Place the AirPods in their case.
- Open the lid and press the button on the back for 15 seconds until the light flashes amber and then white.
- Pair the AirPods with your device again.
Resetting AirPods is a simple fix for most issues, like when they won’t connect, are paired to the wrong device, or have poor sound quality.
c) How to Change AirPod Name
You can customize the name of your AirPods to make them easier to identify, especially if you own multiple pairs or share a household with others. Here’s how:
- Open Settings on Your iPhone:
Go to your iPhone’s settings menu. - Access Bluetooth Settings:
- Tap Bluetooth and find your AirPods in the list of connected devices.
- Tap the small “i” icon next to your AirPods’ name.
- Rename Your AirPods:
- Tap Name, then delete the current name.
- Type the new name you want, like “John’s AirPods” or “Office AirPods.”
- Press Done to save the new name.
This customization is helpful for quickly identifying your AirPods, especially in a household where multiple people might have similar devices.
d) Bluetooth AirPods
AirPods rely on Bluetooth technology to connect wirelessly to your devices. Here’s more about how Bluetooth works with AirPods:
- What is Bluetooth?
Bluetooth is a wireless technology that allows devices to communicate over short distances. With AirPods, Bluetooth lets you connect to your phone, tablet, or computer without the need for wires. - How AirPods Use Bluetooth:
- When Bluetooth is enabled on your device, and the AirPods are nearby, they automatically connect.
- The connection is secure and stable, making it perfect for calls, music, or videos.
- Turning on Bluetooth:
- For iPhones: Go to Settings > Bluetooth and make sure it’s switched on.
- For Android devices: Go to Settings > Connections > Bluetooth and turn it on.
- Once Bluetooth is on, open your AirPods case, and they will appear in the list of available devices. Tap to connect.
- Range of Bluetooth:
- AirPods have a Bluetooth range of about 30 feet (10 meters). This means you can leave your phone on a table and walk around the room without losing the connection.
5. Maintaining and Cleaning Your AirPods
a) How to Clean AirPods Mesh
Keeping your AirPods clean is essential for maintaining sound quality and hygiene. Here’s how to clean the mesh properly:
- Outer Surface Cleaning:
- Use a soft, dry cloth (like a microfiber cloth) to wipe down the exterior of your AirPods.
- This helps remove dirt, fingerprints, and oils from your hands.
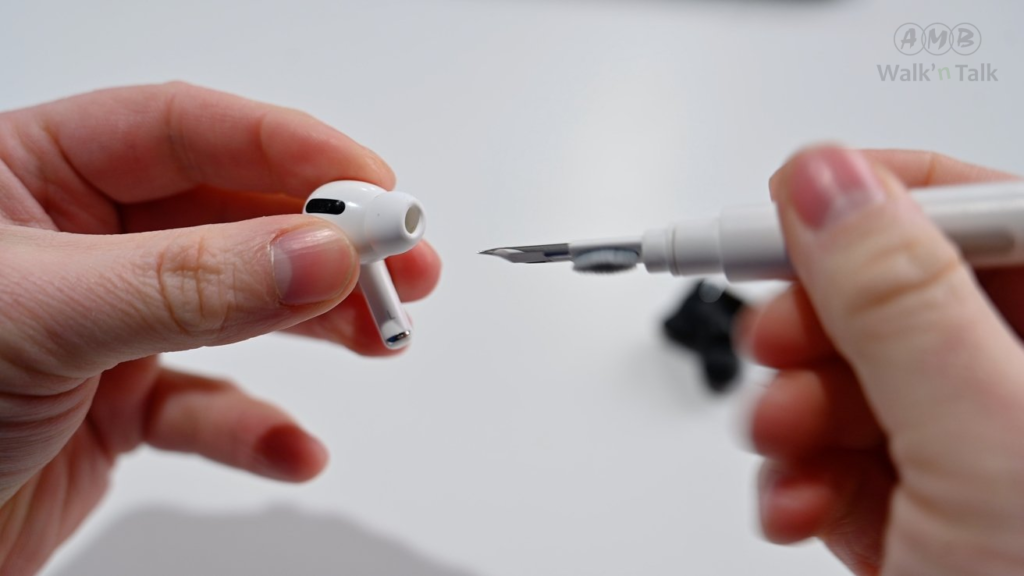
- Mesh (Ear Tip) Cleaning:
- The mesh is the small, perforated part of the AirPods that delivers sound into your ears. Over time, earwax and debris can accumulate here, affecting sound quality.
- Use a soft-bristled brush or a dry cotton swab to gently clean the mesh.
- Do not use water or any liquids, as moisture can damage the delicate internal components.
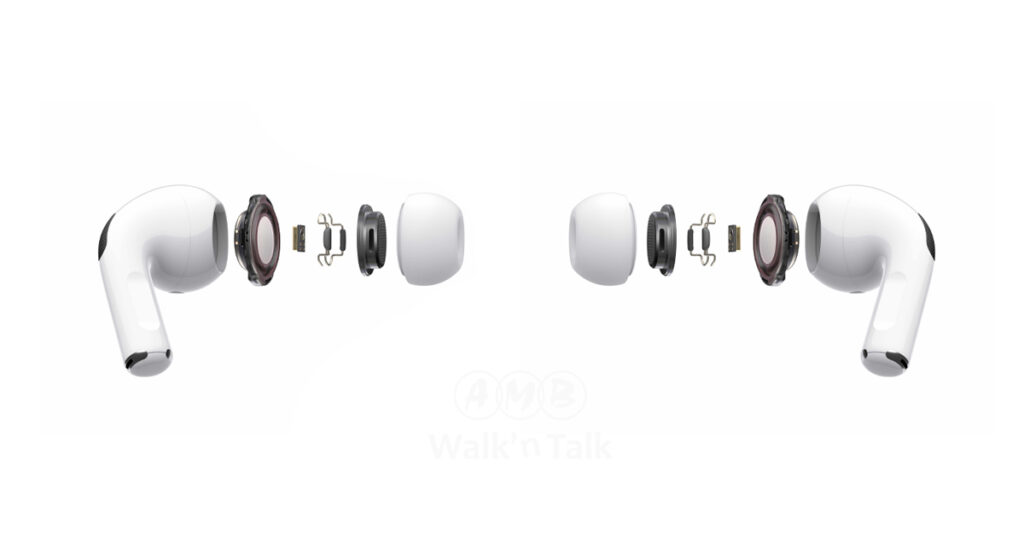
- For AirPods Pro (With Ear Tips):
- Remove the silicone ear tips and rinse them with water (do not use soap or harsh chemicals).
- Dry them thoroughly before reattaching.
- Avoid getting water into the main body of the AirPods Pro.
Regular cleaning prevents buildup, extends the lifespan of your AirPods, and ensures consistent audio quality.
6. AirPods Compatibility and Troubleshooting
a) Do AirPods Only Work with Apple Products?
No, AirPods are not exclusive to Apple devices. They can connect to any device with Bluetooth, including Android phones, Windows PCs, and tablets. However, certain features are Apple-specific:
- Features Available with Apple Devices:
- Automatic switching between devices like iPhone, iPad, and Mac.
- Spatial Audio and Dolby Atmos support.
- “Hey Siri” voice commands.
- When Used with Other Devices:
- Basic functions like playing music, answering calls, and adjusting volume will still work.
- To connect, open the Bluetooth settings on your device and pair the AirPods manually.
b) Do AirPods Work with iPhone 4?
AirPods require iOS 10 or later, which means they are not compatible with iPhone 4. Here’s why:
- iOS Requirement:
- The iPhone 4 runs on iOS 7.1.2, which is too outdated to support AirPods.
- Compatible Models:
- You’ll need an iPhone 5 or newer to use AirPods. These models can run iOS 10 or higher.
c) Faster AirPods
While you can’t make the AirPods themselves faster, you can improve the connection process:
- Optimize Connection:
- Keep the AirPods case and your device close together when pairing.
- Ensure Bluetooth is turned on before opening the AirPods case.
- Keep Firmware Updated:
- AirPods receive occasional firmware updates that improve performance.
- Make sure they’re connected to an updated Apple device to receive these updates automatically.
- Ensure a Full Charge:
- Low battery can sometimes delay connection. Make sure both the AirPods and the case are adequately charged.
7. Latest AirPods Models
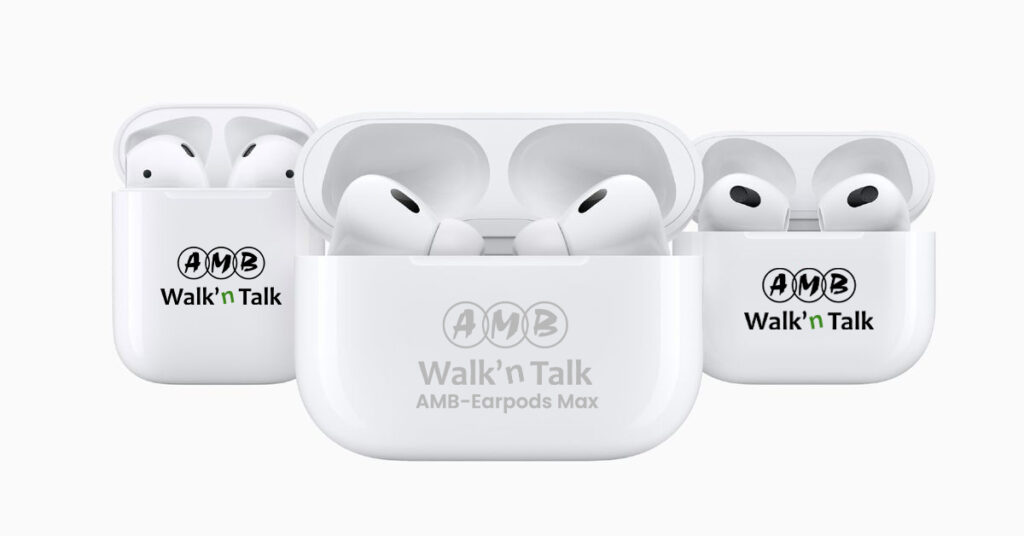
Apple frequently releases updates to the AirPods lineup, introducing new features and enhancements. Here’s what to know:
- Improved Sound Quality:
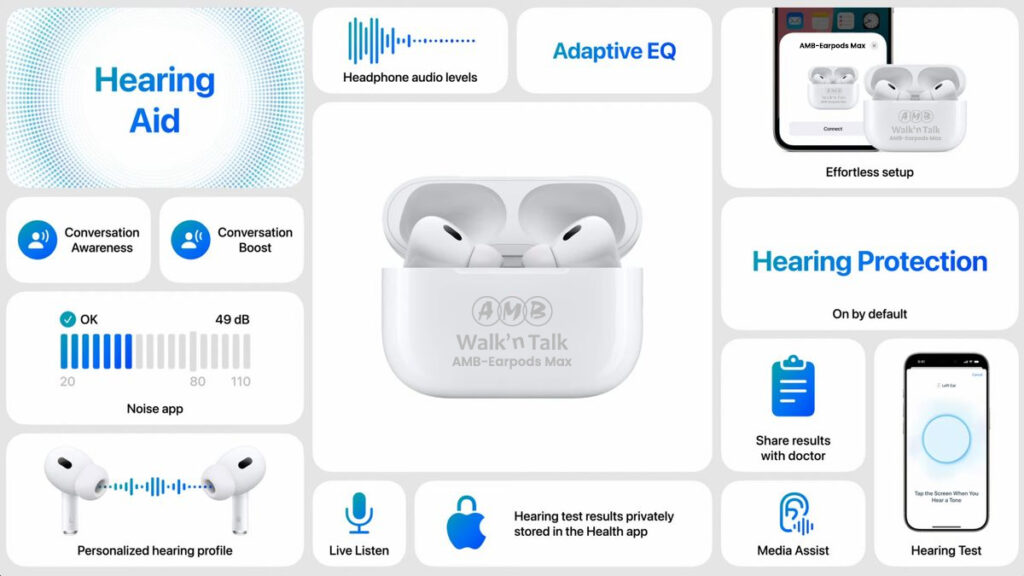
- Newer models, like the AirPods Pro 2nd Generation, offer better sound quality with adaptive EQ, noise cancellation, and spatial audio.
- Longer Battery Life:
- Each new model improves battery performance, allowing for more listening time per charge.
- Cases also provide longer total playback time when fully charged.
- Enhanced Features:
- AirPods Pro includes active noise cancellation and Transparency Mode to customize your listening experience.
- The latest models may also include better water and sweat resistance (IPX4 rating or higher).
- Keep an Eye on New Releases:
- Apple typically announces updates during major events, so stay updated by following Apple’s product announcements.
At The End
Now that you know how to connect, use, and maintain your AirPods, you can enjoy them to the fullest. Whether you’re listening to music, answering calls, or solving minor issues, this guide ensures you’re well-prepared to get the most out of your AirPods. If you face any challenges, feel free to refer back to this guide or share your questions below.


